


2026 Tile Trends
23 Dec 25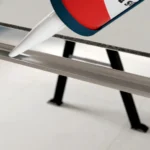
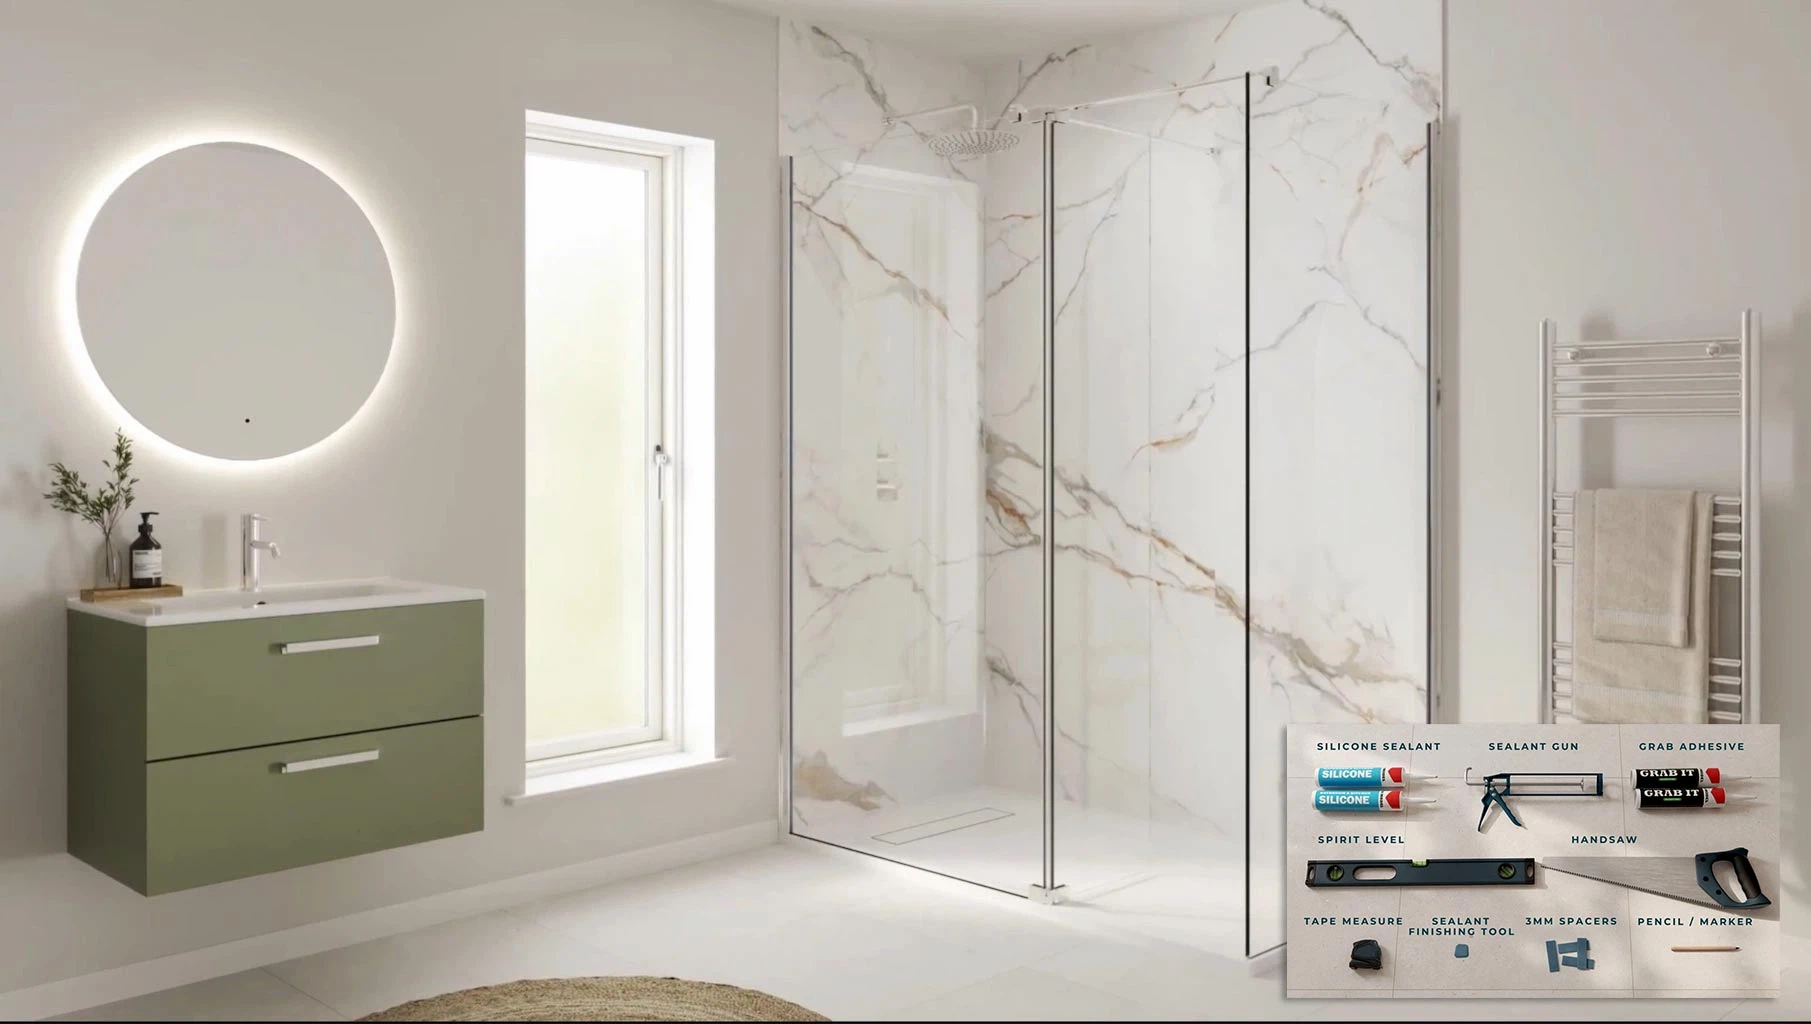
How to Install SPC Wall Panel Trims
24 Feb 26How to Install SPC Wall Panels
This guide explains how to install Aqua SPC wall panels step-by-step, including preparation, cutting, trims and sealing. Follow these steps for a clean finish and a watertight result.
Quick contents
Tools and materials
- Sealant gun
- Silicone sealant
- Grab adhesive
- Spirit level
- Tape measure
- Pencil
- Saw
- 3mm spacers
Wall checks and preparation
- Walls must be structurally sound and dry
- Remove grease and contaminants
- Maximum 2mm deviation over 1 metre
- Baths and trays must be level
This guide is based on the official Aqua Wall installation instructions and our experience supplying SPC panels.
Planning the layout
For a professional finish aim for the first and last panels to be similar widths.
Do not include the ClickSeal locking profile when measuring.
Measuring and cutting
- Allow 3mm expansion gap
- Measure carefully
- Mark clearly
- Cut panels face-up
Pipework and fittings
- Measure carefully
- Drill holes 7mm larger
- Use hole saw
Installing the first panel
- Use spacers
- Check fit
- Apply adhesive
- Level panel
Installing additional panels
- Apply silicone in groove
- Angle panel
- Lock joints
- Press firmly
Trims and sealing
Most installations require trims to finish edges and corners neatly.
See full trim range:
Curing time
Allow approximately 72 hours before using the shower.
Aftercare
- Use non abrasive cleaners
- Use soft cloth
FAQs
Expansion gap? Leave minimum 3mm.
Need tanking? Recommended in showers.
Cure time? Around 72 hours.
Common mistakes
- Panels not level
- No expansion gap
- Wrong measurements
Need help choosing panels or trims?
We have a display stand with loose cut-outs that can be borrowed to see the full range.
Contact Decoramic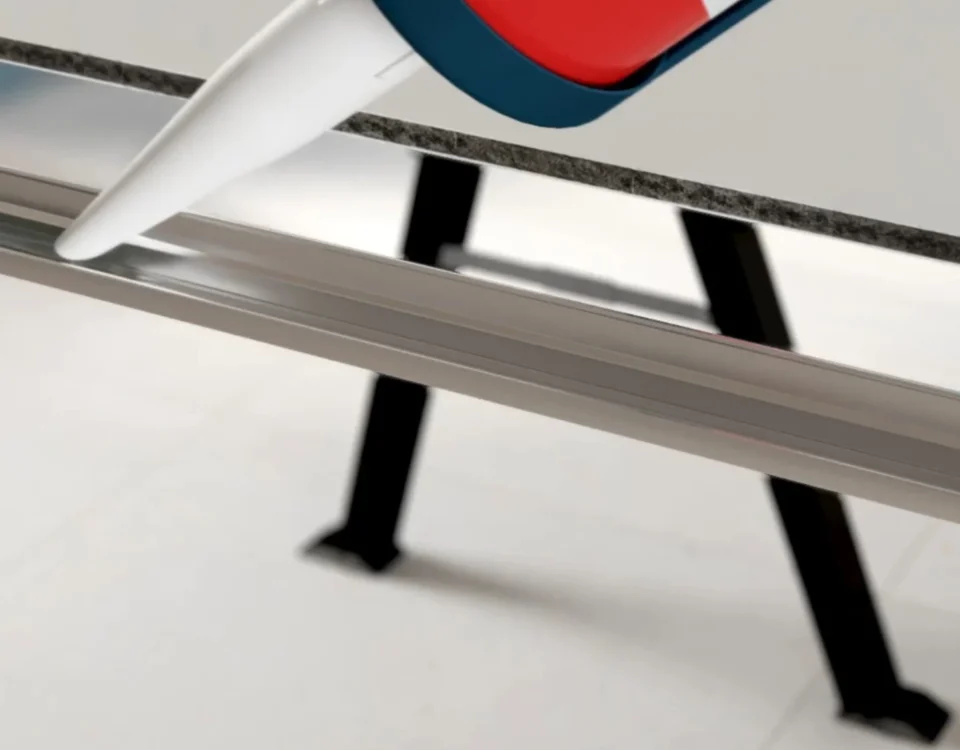
